Paver Path Installation
Paver path installation transforms ordinary outdoor spaces into inviting walkways, adding both beauty and functionality to residential gardens. This guide delves into the complete process, from initial planning and design considerations to the meticulous steps of installation and long-term maintenance. We will explore various paver materials, base preparation techniques, and effective strategies for overcoming common challenges encountered during installation, ensuring a successful project that enhances your property’s aesthetic appeal for years to come.
We’ll cover crucial aspects such as selecting the right pavers for your needs and budget, preparing a stable and well-drained base, mastering proper installation techniques, and implementing effective post-installation care. Whether you are a seasoned DIY enthusiast or a homeowner tackling your first landscaping project, this comprehensive guide provides the knowledge and practical steps needed to create a stunning and durable paver path.
Paver Path Planning and Design
Creating a beautiful and functional paver path involves careful planning and design. This section details the process of designing a paver path layout, compiling a materials list, comparing different paver materials, and emphasizing the crucial role of proper site preparation.
Paver Path Layout Design
For a small residential garden, a curving path with straight sections can add visual interest. Consider a path approximately 10 feet long, starting with a 3-foot straight section, followed by a gentle curve spanning 5 feet, and concluding with another 2-foot straight section. The width could be 3 feet for comfortable walking. This design provides a balanced combination of straight and curved elements.
Materials List for a 100-Square-Foot Paver Path
A materials list for a 100-square-foot paver path will vary based on the chosen paver type and base materials. However, a general estimate would include:
- Pavers: Approximately 120-150 pavers (depending on size and layout, accounting for cuts and waste).
- Base Material (Gravel): Approximately 1 cubic yard (this will vary based on the required depth of the base).
- Compacted Sand: Approximately 0.5 cubic yards.
- Edging: Approximately 40 linear feet of edging material (this is a general estimate and may vary based on the design).
- Landscape Fabric (optional): Approximately 100 square feet to prevent weed growth.
Comparison of Paver Materials
Different paver materials offer varied costs, durability, and aesthetic qualities. The table below provides a comparison:
| Material | Cost | Durability | Aesthetic Appeal |
|---|---|---|---|
| Concrete | Low to Moderate | Moderate to High (depending on quality) | Versatile; many colors and textures available |
| Brick | Moderate to High | High | Classic and timeless; various colors and sizes |
| Natural Stone | High | High | Unique and natural appearance; wide variety of colors and textures |
Importance of Proper Site Preparation
Proper site preparation is essential for a long-lasting and stable paver path. This includes grading the area to achieve a level surface and compacting the soil to prevent settling. Improper preparation can lead to uneven surfaces, paver settling, and potential damage to the path.
Paver Path Base Preparation
Creating a stable and well-drained base is crucial for a successful paver installation. This section details the steps involved in base preparation, discusses different base materials, and provides a guide on compacting the base.
Steps in Creating a Stable and Well-Drained Base
The following steps ensure a stable and well-drained base for your paver path:
- Excavate the area to the desired depth (typically 4-6 inches for a standard paver path).
- Install landscape fabric (optional) to prevent weed growth.
- Add and level the gravel base, ensuring proper drainage away from the path.
- Compact the gravel base thoroughly using a plate compactor or hand tamper.
- Add and level the layer of compacted sand (typically 1-2 inches).
- Compact the sand base to create a firm, even surface.
Types of Base Materials and Their Suitability
Different base materials are suitable for various soil conditions. Gravel provides excellent drainage, while compacted sand offers a stable, level surface. The choice depends on the existing soil conditions and drainage needs. For instance, well-drained soil might only need a compacted sand base, whereas poorly drained soil requires a gravel base for drainage.
Compacting the Base Material
Proper compaction is essential for preventing settling and ensuring the longevity of the paver path. This involves using a plate compactor or hand tamper to compress the base material to a firm, even surface. For a hand tamper, multiple passes are needed, to ensure an g even distribution of pressure. The compacted base should support the weight of the pavers and resist settling over time. Visual cues for proper compaction include a firm, even surface that doesn’t yield under foot pressure.
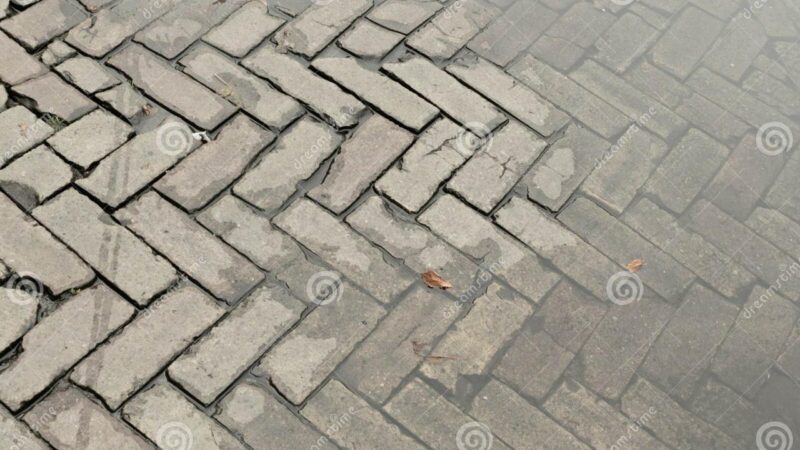
Paver Installation Techniques: Paver Path Installation
Source: imago-images.com
This section Illustrates the process of laying pavers, including techniques for proper spacing, alignment, cutting, and edging installation. Proper installation techniques are crucial for a beautiful and durable paver path.
Laying Pavers

Source: patiomen.com
Begin laying pavers from a straight edge, ensuring proper spacing (typically 1/4 inch) between each paver. Use a string line as a guide for straight sections and maintain consistent spacing throughout the installation. For curves, use flexible edging as a guide and carefully place pavers to follow the curve. A rubber mallet can help to gently tap the pavers into place, ensuring they are level and flush with each other.
Cutting Pavers

Source: ultrabasesystems.com
Cutting pavers is necessary to fit around curves and obstacles. A wet saw with a diamond blade is ideal for clean cuts. Mark the cutting line on the paver, secure it firmly and make a slow, steady cut to avoid chipping or cracking. A descriptive illustration would show the paver secured in a vise or other clamping device, with the wet saw cutting cleanly along the marked line.
Installing Edging

Source: sequoiastonescapes.com
Edging provides a neat and finished look to the paver path and helps to prevent the pavers from shifting. Several edging types exist, including metal, plastic, and concrete. Metal edging is installed by digging a trench, setting the edging, and backfilling with soil or gravel. Plastic edging is easier to install and often uses stakes to secure it. Concrete edging requires forming and pouring concrete, creating a more permanent border.
Addressing Specific Challenges in Paver Path Installation
This section addresses potential challenges during paver path installation, such as uneven ground, slopes, and drainage issues, providing solutions for each.
Dealing with Uneven Ground And Difficult Terrain
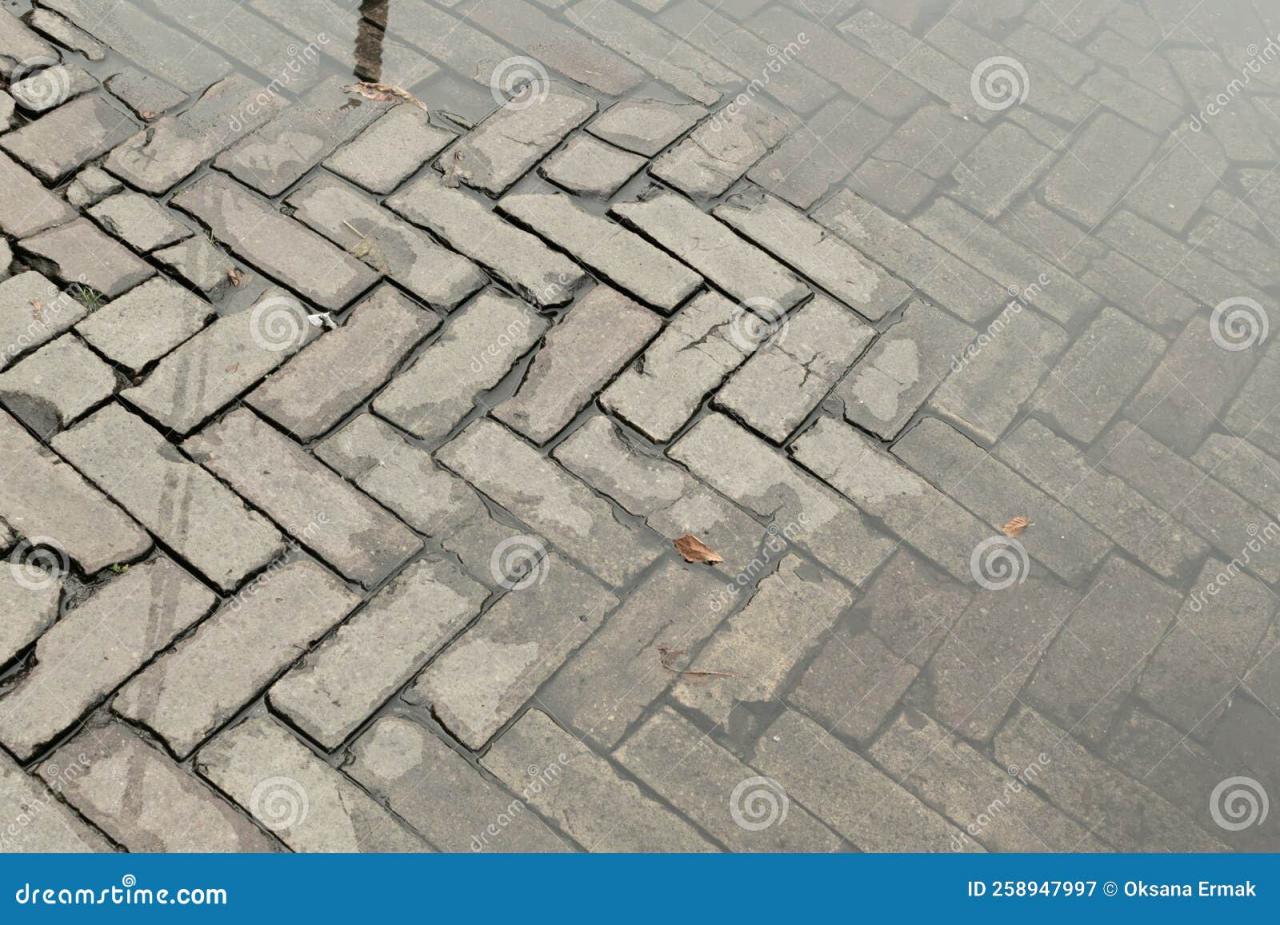
Source: dreamstime.com
Uneven ground requires additional site preparation, including more extensive grading and potentially the use of geotextile fabric to stabilize the base. Difficult terrain may necessitate adjustments to the path design or the use of specialized techniques, such as creating stepped sections on steep slopes.
Solutions for Slopes or Inclines
Slopes require careful planning and execution to prevent water accumulation and paver shifting. Solutions include:
| Challenge | Solution | Considerations |
|---|---|---|
| Steep Slope | Create stepped sections or use retaining walls to stabilize the slope. | Ensure adequate drainage to prevent water erosion. |
| Gentle Slope | Adjust the base thickness to compensate for the slope, ensuring proper drainage. | Maintain consistent paver spacing and alignment. |
| Drainage Issues | Incorporate a gravel base and ensure proper grading to direct water away from the path. | Consider installing drainage channels or French drains. |
Ensuring Proper Drainage, Paver path installation
Proper drainage prevents water accumulation, which can lead to frost damage and paver shifting. This can be achieved through proper grading, the use of a gravel base, and the installation of drainage channels or French drains, if necessary. The path should be graded to slope slightly away from any structures or areas prone to water accumulation.
Post-Installation Care and Maintenance
Proper care and maintenance are essential for preserving the beauty and longevity of your paver path. This section Articulates a maintenance schedule, explains how to repair damaged pavers, and discusses the use of sealants.
Paver Path Maintenance Schedule
Regular maintenance will keep your paver path looking its best:
- Weed removal: Regularly remove weeds that sprout between pavers.
- Cleaning: Sweep or blow debris off the path periodically.
- Inspection: Inspect the path regularly for loose or damaged pavers.
- Resealing: Apply sealant every 2-3 years to protect against weathering and staining.
Repairing Damaged or Loose Pavers
To repair a loose paver, carefully remove the surrounding sand and reset the paver, ensuring proper seating and alignment. Compacted sand should be added as needed to fill gaps. For a cracked or broken paver, replace it with a new paver of the same type and size. A descriptive illustration would show the process of removing the loose paver, cleaning the area, adding fresh sand, and reseating the paver, ensuring proper alignment with the surrounding pavers.
Using Sealants
Applying a sealant helps protect the pavers from weathering, staining, and erosion. Select a sealant specifically designed for pavers, and follow the manufacturer’s instructions for application. A quality sealant enhances the longevity and appearance of your paver path, maintaining its beauty for years to come.
General Inquiries
What tools are essential for paver path installation?
Essential tools include shovels, rakes, tampers, levels, measuring tapes, string lines, a wheelbarrow, and potentially a concrete saw for cutting pavers.
How long does a paver path installation typically take?
The time required varies significantly based on the size of the path, the complexity of the design, and the experience level of the installer. Smaller projects might take a weekend, while larger, more complex ones could take several days or even weeks.
Can I install a paver path on a slope?
Yes, but it requires careful planning and techniques to ensure proper drainage and stability. This often involves creating stepped sections or using specialized base materials.
How often should I seal my paver path?
Sealing is recommended every 2-3 years to protect the pavers from weathering, staining, and weed growth. The frequency might depend on the climate and the type of sealant used.
What is the best time of year to install a paver path?
Spring or fall are generally ideal, as the ground is typically not frozen and the weather is moderate. Avoid extremely hot or cold temperatures.
Comments are closed.