Replacing Concrete Walkway
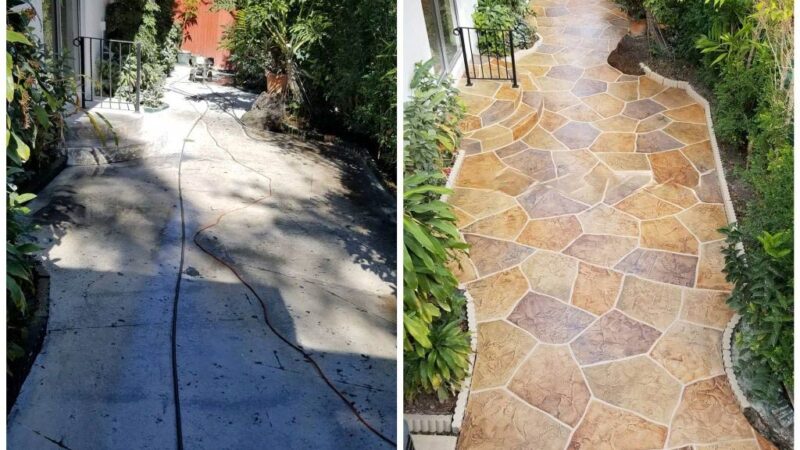
Replacing concrete walkways presents a fantastic opportunity to enhance your home’s curb appeal and functionality. This guide delves into every aspect of the process, from material selection and demolition to installation and long-term maintenance. Whether you’re aiming for a sleek modern look or a rustic charm, we’ll explore diverse options to help you create the perfect walkway for your needs and budget.
We’ll cover the practical steps involved in removing existing concrete, preparing the ground, and installing various materials like pavers, bricks, or even new concrete. We’ll also consider aesthetic design choices, incorporating landscaping and accessibility features, and finally, provide a detailed cost breakdown to help you plan your project effectively. By the end, you’ll be equipped with the knowledge to confidently undertake this home improvement project.
Materials for Replacing Concrete Walkways
Choosing the right material for your walkway replacement is crucial for both aesthetics and longevity. Several options exist, each with its own set of advantages and disadvantages regarding cost, durability, maintenance, and environmental impact. This section will compare popular materials and discuss the use of recycled options.
Comparison of Paving Materials
The following table compares concrete, brick, pavers, and natural stone for walkway construction.
| Material | Cost (per sq ft, approximate) | Durability | Maintenance |
|---|---|---|---|
| Concrete | $4-$8 | High; resistant to cracking with proper installation | Regular sealing, crack repair as needed |
| Brick | $8-$15 | High; individual bricks can be replaced | Weed control, occasional cleaning, and resealing |
| Pavers (concrete, stone, etc.) | $6-$12 | High; individual pavers can be replaced | Weed control, occasional cleaning, and resetting of loose pavers |
| Natural Stone | $15-$30+ | Very high; durable and long-lasting | Regular cleaning, sealing, and potential repairs for cracked or chipped stones |
Advantages and Disadvantages of Recycled Materials
Using recycled materials in walkway construction offers several environmental benefits. However, there are also some limitations to consider.
- Advantages: Reduced landfill waste, lower carbon footprint compared to virgin materials, potential cost savings.
- Disadvantages: Recycled materials may have inconsistencies in color and texture, potentially limiting aesthetic options. The availability and quality of recycled materials can vary depending on location.
Environmental Impact of Walkway Materials
Source: crescenthomesmaui.com
The environmental impact of walkway materials should be a key consideration in the selection process. This table provides a general comparison, noting that actual figures can vary based on manufacturing processes and transportation distances.
| Material | Carbon Footprint (approximate, relative scale) | Water Usage (during production, relative scale) | Recyclability |
|---|---|---|---|
| Concrete | Medium | Medium | Partially recyclable; aggregates can be reused |
| Brick | Medium-High | Medium | Partially recyclable; some bricks can be reused or crushed for aggregate |
| Pavers | Medium (varies by material) | Medium (varies by material) | Recyclability varies significantly depending on the material (concrete, stone, etc.) |
| Natural Stone | Low (depending on sourcing and transportation) | Low | Generally not recyclable in the same way as other materials; can be reused in some applications. |
Preparation and Demolition
Proper preparation and demolition are essential for a successful walkway replacement. Safety should be the top priority during demolition, and careful base preparation ensures a stable and long-lasting walkway.
Step-by-Step Guide for Concrete Walkway Removal
Follow these steps to safely remove an existing concrete walkway:
- Safety First: Wear appropriate safety gear, including gloves, eye protection, and a dust mask.
- Mark the Area: Mark the walkway’s perimeter to avoid accidental damage to surrounding areas.
- Break Up the Concrete: Use a jackhammer or demolition hammer to break the concrete into manageable pieces. Work in sections for better control.
- Remove Debris: Carefully remove the broken concrete pieces, using wheelbarrows or other appropriate equipment.
- Dispose of Waste: Dispose of the concrete debris properly, according to local regulations.
Base Preparation
A well-prepared base is crucial for preventing the settling and cracking of the new walkway. This involves proper compaction and leveling.
- Excavation: Excavate the area to the desired depth, typically 4-6 inches below the finished walkway surface.
- Compaction: Compact the base material using a plate compactor or hand tamper to ensure stability.
- Leveling: Level the base using a screed or straight edge to create a smooth, even surface.
- Base Material: Use a suitable base material, such as compacted gravel or crushed stone.
Tools and Equipment Checklist
Gather the necessary tools and equipment before beginning the project. This will streamline the process and ensure efficiency.
- Jackhammer or demolition hammer
- Shovel
- Wheelbarrow
- Plate compactor or hand tamper
- Screed or straight-edge
- Measuring tape
- Safety glasses
- Gloves
- Dust mask
Installation Methods for Different Materials: Replacing Concrete Walkway

Source: pinimg.com
The installation process varies depending on the chosen material. Each method requires careful attention to detail to ensure a durable and aesthetically pleasing result.
Paver Installation
Installing pavers involves several steps to ensure a stable and attractive walkway.
- Base Preparation: Prepare a stable and level base as described previously.
- Edge Restraint: Install edging to contain the pavers and prevent shifting.
- Laying Pavers: Lay the pavers according to the chosen pattern, ensuring proper spacing and alignment.
- Compaction: Compact the pavers to ensure stability.
- Joint Sanding: Fill the joints between pavers with polymeric sand to prevent weed growth and stabilize the pavers.
Concrete Walkway Pouring and Finishing
Pouring and finishing concrete requires specific techniques to achieve a smooth and even surface.
- Formwork: Construct formwork to contain the concrete.
- Pouring Concrete: Pour the concrete into the forms, ensuring even distribution.
- Consolidation: Use a vibrator to remove air bubbles and consolidate the concrete.
- Screeding: Use a screed to level the concrete surface.
- Floating: Use a bull float to smooth the surface.
- Troweling: Use a steel trowel to achieve the desired finish (smooth, broom, etc.).
- Curing: Keep the concrete moist during curing to prevent cracking.
Brick Walkway Installation
Installing a brick walkway involves careful consideration of mortar selection and joint spacing.
- Base Preparation: Prepare a level and stable base.
- Mortar Mix: Mix the mortar according to the manufacturer’s instructions.
- Brick Laying: Lay the bricks, ensuring proper spacing and alignment.
- Mortar Jointing: Fill the joints between bricks with mortar.
- Cleaning: Clean excess mortar from the brick surface.
- Curing: Allow the mortar to cure properly.
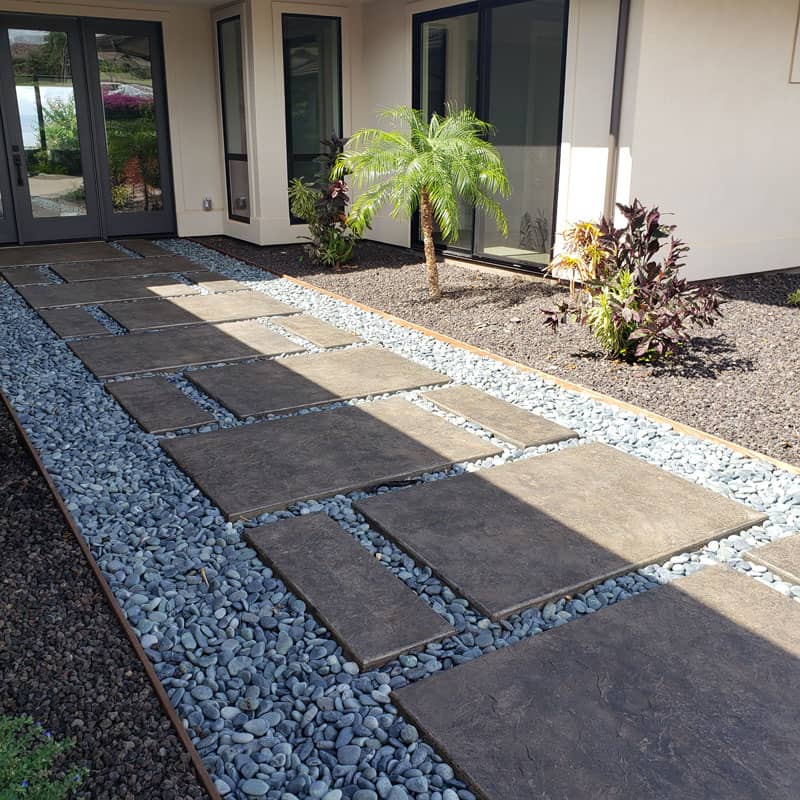
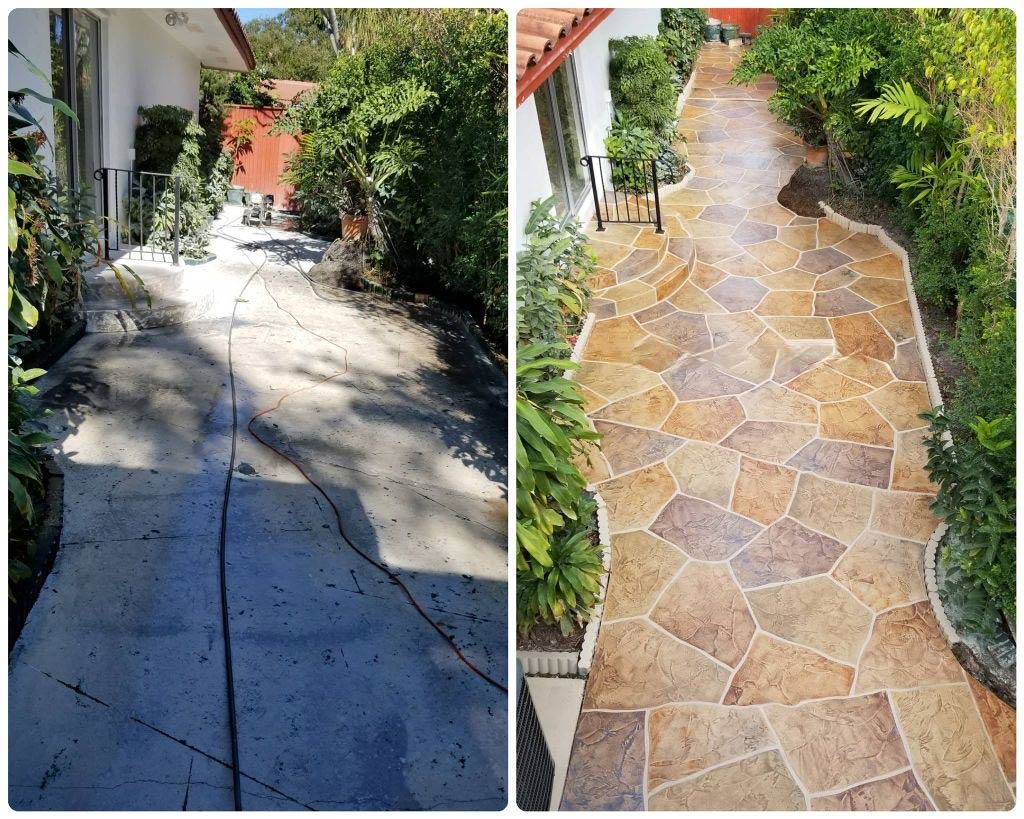
Design Considerations for Walkway Aesthetics
Source: nextluxury.com
Walkway design goes beyond functionality; it’s an opportunity to enhance the overall aesthetic appeal of your outdoor space. Careful consideration of materials, patterns, and landscaping elements can create a stunning walkway that complements your home’s style.
Walkway Design Examples
Here are three example walkway designs:
- Modern Minimalist: A sleek, contemporary design using large, grey concrete pavers laid in a running bond pattern. The clean lines and neutral color create a sophisticated and understated look. Minimal landscaping is incorporated, focusing on clean lines and simple plantings.
- Rustic Charm: A warm and inviting walkway using reclaimed brick laid in a herringbone pattern. The varied colors and textures of the reclaimed brick add character and visual interest. Landscaping incorporates flowering plants and low-growing shrubs to soften the edges and create a natural feel.
- Elegant Elegance: A formal and elegant design using light-colored natural stone pavers laid in a basketweave pattern. The natural beauty of the stone creates a sophisticated and timeless look. Landscaping includes carefully placed shrubs and ornamental grasses, creating a structured and refined aesthetic.
Landscaping Integration, Replacing concrete walkway
Source: pinimg.com
Incorporating landscaping elements can significantly enhance a walkway’s visual appeal and create a cohesive outdoor space. Careful placement of plants, lighting, and water features can transform a simple walkway into a focal point.
Accessible Walkway Design
An accessible walkway design incorporates features that accommodate individuals with disabilities. This includes a smooth, level surface, adequate width to accommodate wheelchairs or other mobility devices, and clear pathways free of obstructions.
A visual description might include a wide, gently sloping walkway made of smooth, textured concrete pavers. The surface is free of cracks and uneven areas. Handrails are provided along sections with significant elevation changes. Contrasting colors are used to highlight changes in level or potential hazards. Clear signage is provided where necessary.
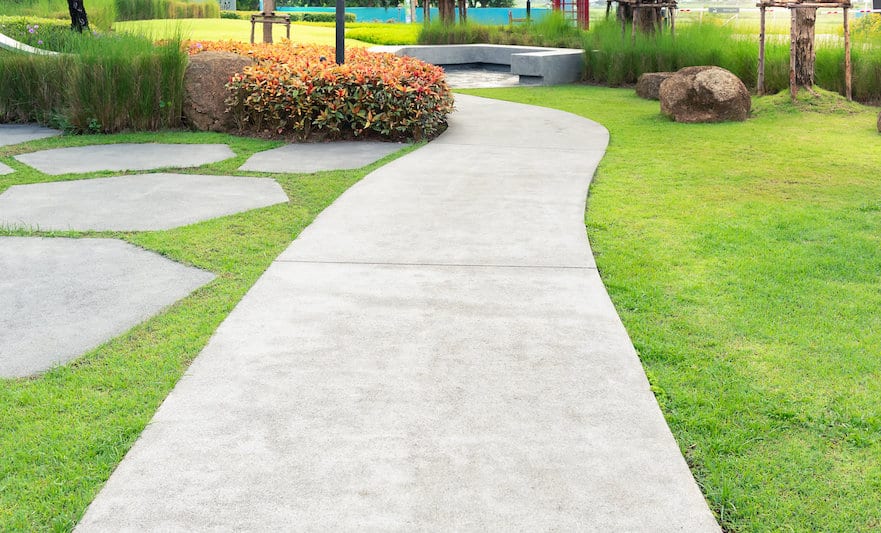
Maintenance and Repair of Walkways
Regular maintenance is crucial for extending the lifespan of your walkway and preventing costly repairs. Knowing how to address common problems can help maintain its beauty and functionality for years to come.
Preventative Maintenance

Source: liveenhanced.com
Preventative maintenance varies depending on the walkway material. Regular cleaning, sealing, and weed control are essential for all types of walkways.
- Concrete: Regular sealing to protect against water damage and staining.
- Brick: Weed control and occasional cleaning with a stiff brush.
- Pavers: Resetting loose pavers and refilling joints with sand.
- Natural Stone: Regular cleaning and sealing to protect against staining and weathering.
Concrete Walkway Repair
Common problems with concrete walkways include cracks, settling, and spalling. These issues can be addressed with various repair methods.
- Crack Repair: Small cracks can be filled with epoxy or concrete patching compound.
- Settling: Settling may require lifting and re-supporting the concrete section.
- Spalling: Spalling (chipping or flaking) often requires removing the damaged section and replacing it with new concrete.
Cleaning and Sealing
Cleaning and sealing methods vary depending on the walkway material. Appropriate cleaning solutions and sealants should be used to avoid damage.
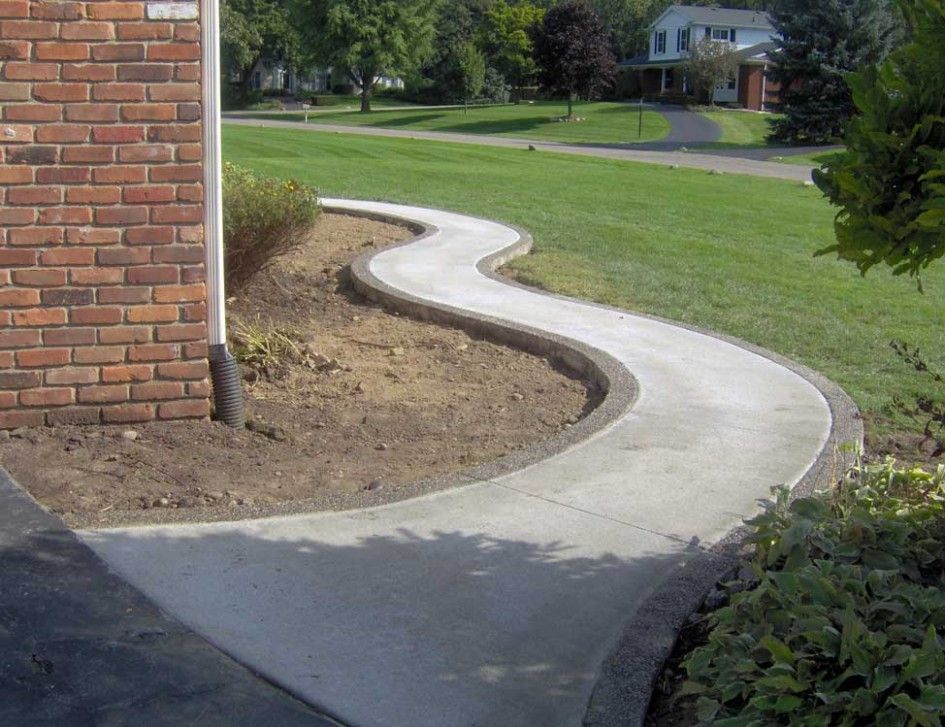
Cost Estimation and Budgeting
Replacing a walkway involves various costs, including materials, labor, and permits. Creating a detailed budget helps manage expenses and ensures a successful project.
Sample Cost Breakdown (100 sq ft)
This is an approximate cost breakdown and can vary significantly depending on location, material choices, and labor rates.
| Material | Material Cost | Labor Cost | Total Cost (Estimate) |
|---|---|---|---|
| Concrete | $400 – $800 | $500 – $1000 | $900 – $1800 |
| Brick | $800 – $1500 | $700 – $1400 | $1500 – $2900 |
| Pavers | $600 – $1200 | $600 – $1200 | $1200 – $2400 |
| Natural Stone | $1500 – $3000+ | $1000 – $2000+ | $2500 – $5000+ |
Factors Influencing Cost
Source: epoxyflooringpascocounty.com
Several factors influence the overall cost of a walkway replacement project. These include material choices, labor rates, site preparation requirements, and permit fees.
Budget Template
A comprehensive budget template should include:
- Material Costs: Include all materials needed for the project, such as pavers, concrete, sand, gravel, mortar, edging, and sealant.
- Labor Costs: Estimate the cost of labor based on the scope of work and local rates.
- Permits and Fees: Include any necessary permits and associated fees.
- Contingency: Add a contingency of 10-20% to cover unexpected expenses.
Commonly Asked Questions
What permits are typically required for replacing a concrete walkway?
Permits vary by location. Check with your local building department to determine necessary permits and inspections before beginning the project.
How long does a walkway replacement project typically take?
The duration depends on the size of the walkway, the material chosen, and your DIY skills or the hired contractor’s availability. Smaller projects might take a weekend, while larger ones could take several days or even weeks.
Can I replace the walkway myself, or should I hire a contractor?
While DIY is possible for smaller, simpler projects, hiring a professional contractor is recommended for larger or more complex installations, especially those involving significant demolition or specialized materials.
How do I dispose of the old concrete safely and responsibly?
Check with your local waste management services for guidelines on disposing of concrete debris. Some areas offer concrete recycling programs, while others may require disposal at designated landfill sites.
What is the best time of year to replace a concrete walkway?
Spring or fall are generally ideal, as they offer moderate temperatures that are suitable for concrete work and allow for proper curing. Avoid extreme heat or freezing temperatures.
Comments are closed.