Sidewalk Paver Installation
Sidewalk paver installation transforms ordinary walkways into aesthetically pleasing and durable features. This comprehensive guide delves into every aspect of the process, from meticulous planning and material selection to the precise techniques of installation and finishing. We’ll explore various paver types, base materials, and installation methods, ensuring you know how to create a stunning and long-lasting sidewalk.
We cover essential considerations like site preparation, proper excavation, and the importance of compaction for a stable foundation. Detailed steps will guide you through each stage, complemented by helpful illustrations and comparisons of different techniques. Safety precautions and best practices are also emphasized, ensuring a successful and safe project completion.
Planning & Design for Sidewalk Paver Installation
Careful planning is crucial for a successful sidewalk paver installation. A well-defined plan ensures efficient material usage, minimizes waste, and results in a visually appealing and durable walkway. This section illustrates the key steps involved in creating a detailed site plan and provides a checklist of essential considerations.
Site Plan Creation
Developing a comprehensive site plan involves several key steps. First, accurate measurements of the area are essential. This includes determining the length, width, and any elevation changes. Next, these measurements are used to calculate the required quantity of pavers and base materials. Consideration must also be given to the existing grade; proper grading ensures adequate drainage and prevents water accumulation. Finally, the plan should depict the paver layout, including patterns and any special features.
Pre-Installation Checklist
Before starting the installation, a thorough checklist ensures all necessary preparations are complete. This helps prevent delays and ensures a smooth process.
- Obtain necessary permits and approvals.
- Verify property lines and easements.
- Secure all necessary materials and tools.
- Inspect the site for underground utilities.
- Prepare a detailed site plan with material quantities.
Sample Site Plan
The following table provides a sample site plan. Remember to adjust these values to your specific project requirements.
| Section | Dimensions (ft) | Material Type | Quantity |
|---|---|---|---|
| Main Walkway | 10 x 50 | Concrete Pavers (6×6) | 417 |
| Curved Section | 5 x 10 (radius 5ft) | Concrete Pavers (6×6) | 83 |
| Base Layer (entire area) | 10 x 50 | Compacted Gravel & Sand | N/A |
Material Selection and Sourcing
Choosing the right materials is vital for both the aesthetic appeal and the longevity of your sidewalk. This section compares different paver types and discusses the importance of selecting appropriate base materials. Efficient sourcing strategies can also significantly impact the project’s overall cost.
Paver Types Comparison
Several paver types offer distinct advantages and disadvantages.
- Concrete Pavers: Durable, relatively inexpensive, wide variety of colors and textures. Susceptible to cracking under heavy loads in some cases.
- Brick Pavers: Classic look, durable, permeable (allowing water drainage). Can be more expensive than concrete.
- Stone Pavers: Elegant, highly durable, and long-lasting. Often the most expensive option and may require specialized installation.
Base Material Selection, Sidewalk paver installation
The base layer is crucial for drainage and stability. A well-prepared base prevents settling and extends the life of the pavers. Gravel provides excellent drainage, while sand provides a smooth, level surface for the pavers.
Sourcing Materials
Sourcing materials involves several steps. First, determine the exact quantities needed based on your site plan. Then, compare prices from different suppliers. Consider factors like delivery costs and potential bulk discounts to optimize costs. Order materials well in advance to avoid delays.
Site Preparation and Excavation
Proper site preparation is fundamental to a successful paver installation. This involves clearing the area, grading the ground, and ensuring a stable base for the pavers. This section details the steps involved in preparing the site for installation.
Site Preparation Steps
Before excavation, the site needs to be cleared of any debris, vegetation, or existing pavement. The area should then be graded to achieve a consistent slope for proper drainage. Finally, the ground should be compacted to create a stable base.
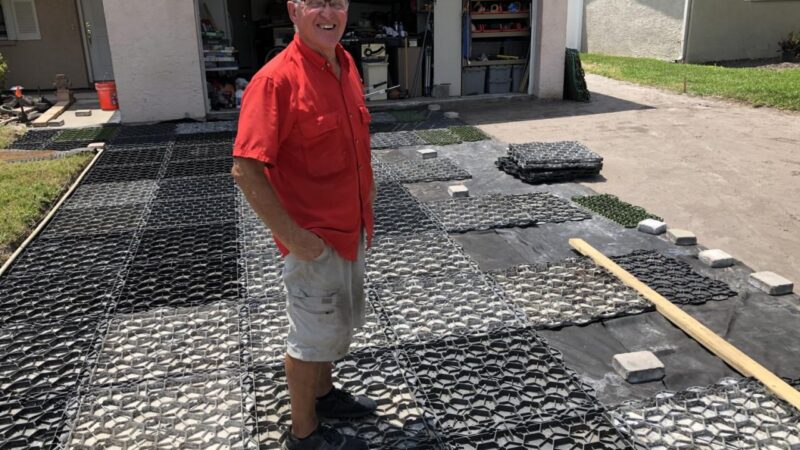
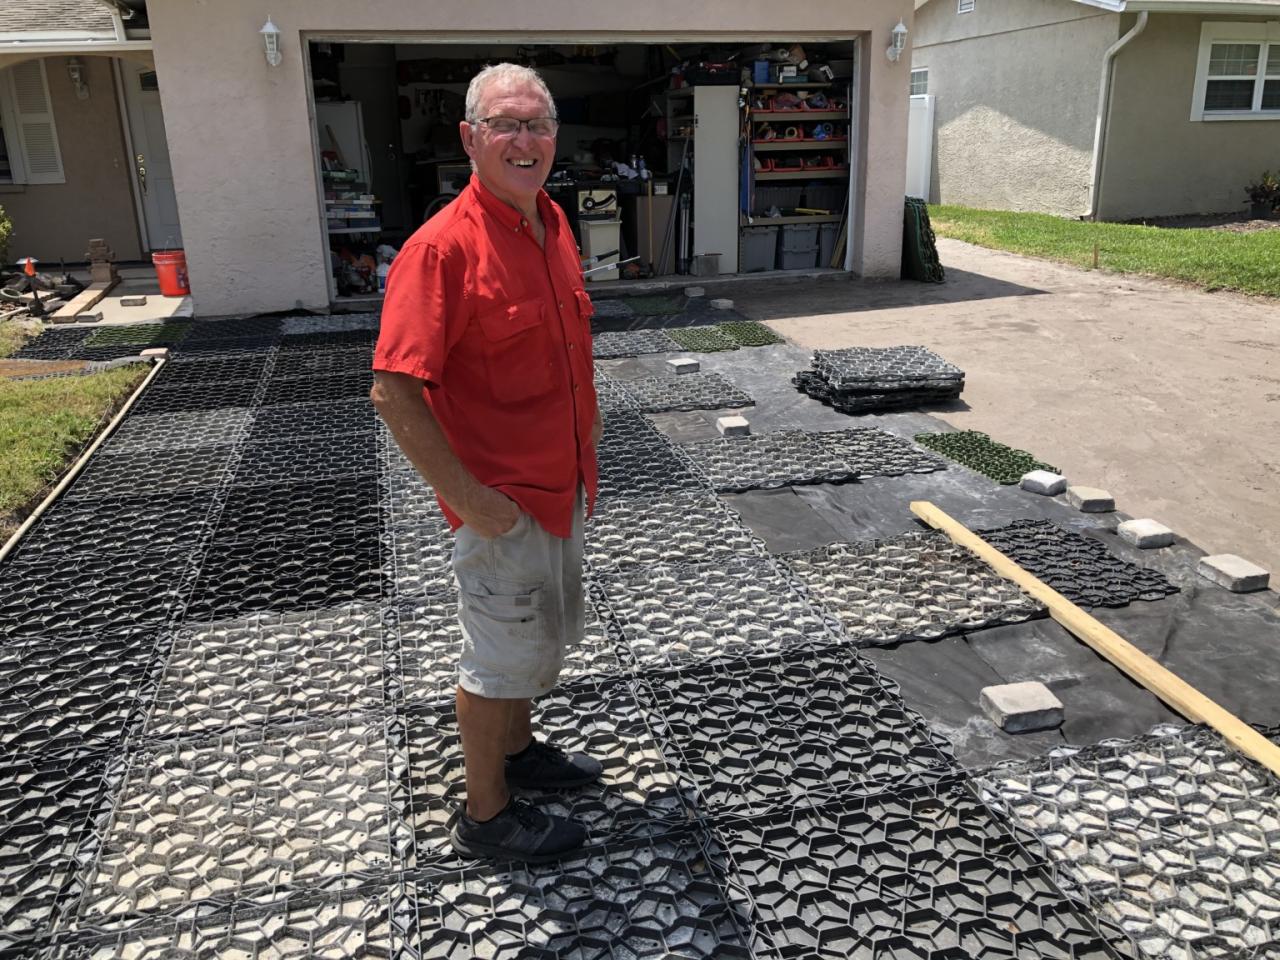
Excavation Depth and Geotextile Fabric
The excavation depth depends on the chosen base materials and local conditions. A geotextile fabric is typically placed beneath the base layers to prevent weed growth and improve drainage. The fabric acts as a barrier, separating the base materials from the underlying soil.
Excavation Step-by-Step Guide
- Mark the area to be excavated according to the site plan.
- Remove existing pavement or vegetation.
- Excavate to the required depth, ensuring a level base.
- Spread and compact a layer of gravel.
- Lay down geotextile fabric.
- Add and compact a layer of sand.
Base Installation and Compaction
Creating a stable and well-compacted base is essential for preventing settling and ensuring the longevity of the paver installation. This section explains the techniques for installing and compacting the base layers.
Base Layer Installation and Compaction
The base typically consists of layers of gravel and sand. Each layer should be spread evenly and compacted using appropriate tools, such as a plate compactor. The compaction process removes air pockets, creating a solid and stable foundation for the pavers. Proper compaction is crucial to prevent future settling and ensure the pavers remain level.
Importance of Compaction
Compaction is critical for preventing settling and ensuring the long-term stability of the paver installation. Insufficient compaction can lead to uneven surfaces, cracking, and potential damage to the pavers. The ideal level of compaction will result in a firm, stable base that resists shifting or settling over time.
Compaction Illustrations
Initially, the gravel layer will appear loose and easily disturbed. After compaction, the gravel will be tightly packed, showing minimal movement when pressed. Similarly, the sand layer will initially be loose and easily shaped. After compaction, the sand will appear firm and resist indentation. The appropriate tools for compaction include plate compactors for larger areas and hand tampers for smaller or more confined spaces.
Paver Installation Techniques

Source: ytimg.com
Various paver installation methods exist, each offering unique aesthetic and practical advantages. This section explores different methods and details the process of laying pavers.
Paver Installation Methods
| Method | Pattern Image Description | Advantages | Disadvantages |
|---|---|---|---|
| Running Bond | Pavers are laid in parallel rows with offsetting joints, resembling bricks. | Simple, classic look, easy installation. | Can appear monotonous over large areas. |
| Herringbone | Pavers laid in a V-shaped pattern, creating a visually interesting design. | Visually appealing, strong pattern. | More complex to install, and requires precise cutting. |
| Basketweave | Pavers are laid in a rectangular pattern with alternating vertical and horizontal orientations. | Attractive, durable. | Requires careful planning and cutting. |
Paver Laying Process

Source: patiomen.com
Begin by laying out the first row of pavers, ensuring they are level and aligned. Subsequent rows are laid, maintaining consistent spacing and using spacers as needed. Cutting pavers to fit around curves and obstacles requires careful measurement and the use of a suitable cutting tool. Use a rubber mallet to gently tap pavers into place, avoiding excessive force that could damage them.
Essential Tools
- Rubber mallet
- Wheelbarrow
- Shovel
- Rake
- Plate compactor
- Measuring tape
- String line
- Paver cutter
- Level
Jointing and Finishing: Sidewalk Paver Installation

Source: sequoiastonescapes.com
Proper jointing is crucial for the long-term stability and appearance of the sidewalk. This section details the process of filling joints with sand and achieving a professional finish.
Jointing Sand Application
Source: ultrabasesystems.com
Once the pavers are in place, jointing sand is swept into the gaps between the pavers. This sand fills the joints, providing stability and preventing weed growth. The type of sand used is important; it should be fine enough to fill the gaps effectively but coarse enough to prevent washing away.
Compacting Jointing Sand
After sweeping in the sand, it’s essential to compact it to ensure it settles properly and provides adequate support. This can be done using a broom or a specialized sand compactor. The compacted sand should create a firm, even surface.
Final Appearance
A properly finished sidewalk will have a smooth, even surface with neatly filled joints. The pavers should be level and aligned, creating a visually appealing walkway. The overall texture should be consistent, and there should be no loose pavers or gaps in the joints. The surface should be free of debris and ready for use.
Safety Precautions and Best Practices
Safety is paramount during sidewalk paver installation. This section highlights potential hazards and best practices to ensure a safe and efficient project.
Safety Precautions
- Hazard: Heavy equipment. Precaution: Operate equipment according to the manufacturer’s instructions, and ensure proper training.
- Hazard: Uneven ground. Precaution: Wear appropriate footwear, and use caution when moving around the site.
- Hazard: Sun exposure. Precaution: Wear sunscreen, a hat, and protective clothing.
- Hazard: Dust inhalation. Precaution: Wear a dust mask, especially during compaction.
- Hazard: Cuts from pavers. Precaution: Wear gloves, and use caution when handling pavers.
Best Practices
Planning, using appropriate tools, and working systematically contribute to efficient installation. Regular quality checks during each step help ensure a high-quality finish.
Essential Safety Equipment
- Safety glasses
- Work gloves
- Steel-toed boots
- Dust mask
- Sunscreen
- Hard hat
Top FAQs
What is the average lifespan of a properly installed paver sidewalk?
With proper installation and maintenance, a paver sidewalk can last for 20-30 years or even longer.
How much does sidewalk paver installation typically cost?
Costs vary significantly based on factors like paver type, area size, site preparation needs, and labor costs. It’s best to obtain multiple quotes from contractors.
Can I install the pavers myself, or should I hire a professional?
While DIY is possible for smaller projects, professional installation is recommended for larger areas or complex designs to ensure proper techniques and longevity.
What is the best time of year to install pavers?
Spring or fall are generally ideal, as the ground is typically neither too frozen nor excessively hot and dry.
How do I maintain my paver sidewalk once it’s installed?
Regular sweeping, occasional power washing, and re-sanding of joints as needed will help maintain the appearance and integrity of your paver sidewalk.
Comments are closed.